Step-by-Step Guide to Setting Up a Tent Like a Pro
We may earn a commission for purchases made using our links. Please see our disclosure to learn more.
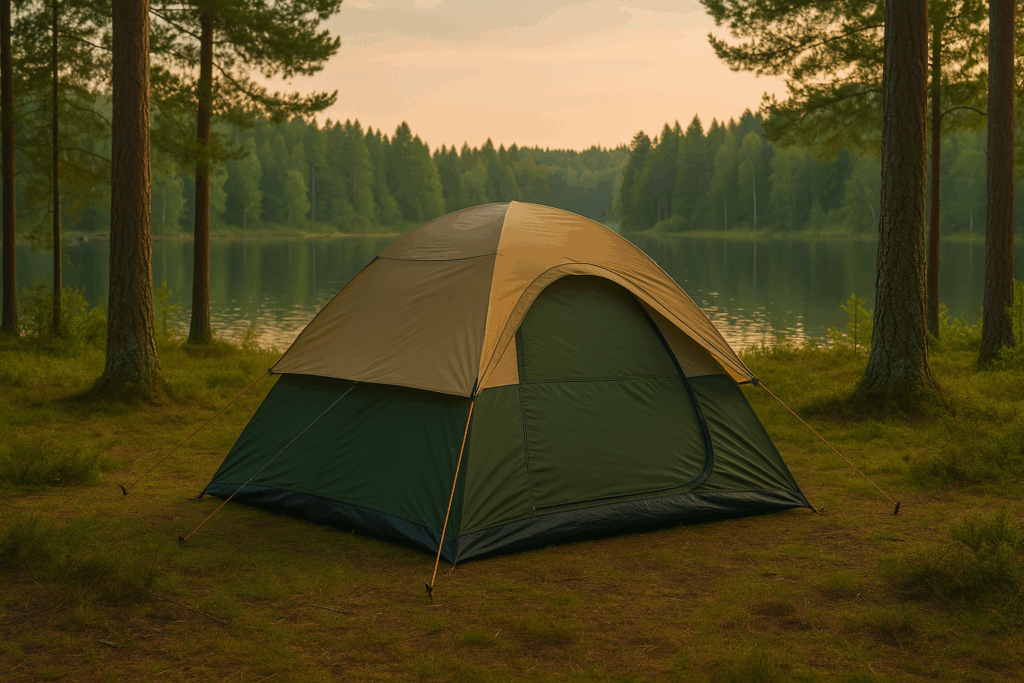
Whether you’re heading out for your first camping trip or brushing up on old skills, learning the correct method for setting up a tent is essential. A poorly pitched tent can lead to restless nights, discomfort, or worse—getting soaked in the rain. This guide walks you through the entire process in simple, doable steps so you can set up camp with confidence.
Introduction
Camping is one of the best ways to unplug, breathe fresh air, and reconnect with nature. But a successful trip starts with the basics—and that means you set it up correctly. You don’t have to be a seasoned outdoorsman to master this skill. In fact, with a little practice and the right guidance, setting up can be quick, easy, and even fun.
What You Need Before You Start
Before jumping into the actual setup, make sure you have everything ready. Missing even one crucial piece can throw off your entire camping plan. For a comprehensive breakdown of must-have gear, check out this essential camping packing list to ensure nothing gets left behind.
Recommended Products
Here are some handy essentials to make your setup process smoother:
- Tent footprint or tarp
👉 Clostnature Tent Footprint – Waterproof and Heavy Duty
👉 Frelaxy Ultralight Tent Footprint – Compact for Backpacking - Headlamp or flashlight
👉 LHKNL Headlamp (2-Pack) – Rechargeable & Waterproof
👉 DanForce LED Headlamp – High Lumen with Red Light - Rubber mallet
👉 Edward Tools 16 oz Rubber Mallet – Durable Build - Extra tent stakes
👉 Eurmax USA Galvanized Tent Stakes (10-Pack)
👉 Wise Owl Outfitters Tent Stakes (16-Pack) – Lightweight Aluminum - Tent seam sealer
👉 GEAR AID Seam Grip FC – Fast Cure Sealant
👉 Coghlan’s Tent Seam Sealer – Easy Applicator
Step-by-Step Instructions
Let’s dive into the steps, making sure every camper—beginner or pro—feels at ease with the process.
Step 1 – Choose the Right Spot
Pick a flat, shaded area away from hills or water run-offs. Avoid setting up under trees, which can drop sap or branches. Clear the ground of sticks, rocks, or anything sharp.
Step 2 – Lay Down a Footprint or Tarp
Unroll your tarp or tent footprint to form a barrier between the tent and ground. This helps protect the bottom and improves water resistance.
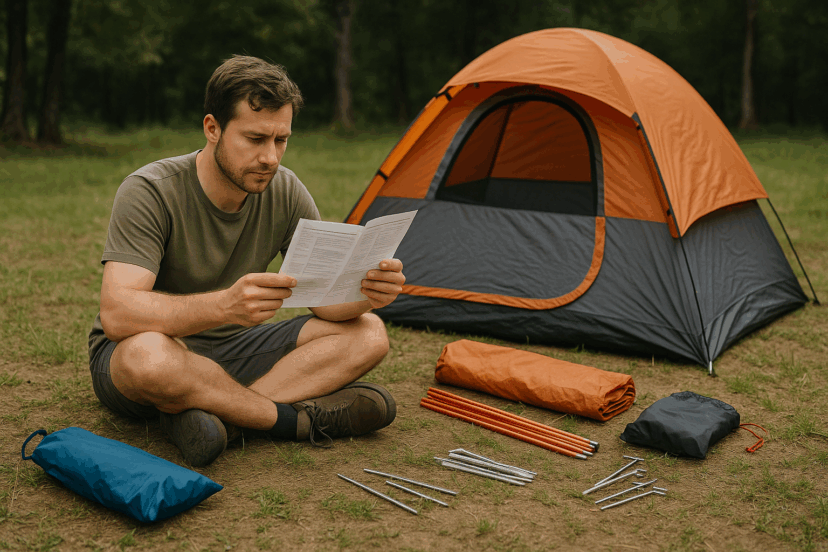
Step 3 – Unpack and Identify All Parts
Take everything out of the tent bag. You should have:
- Tent body
- Tent poles
- Stakes
- Rainfly
Make sure nothing is missing. It’s easier to identify parts during daylight.
Step 4 – Assemble the Poles
Most modern tents have color-coded poles or shock cords that make this step easy. Connect each section of the poles and lay them out across the body in preparation for lifting.
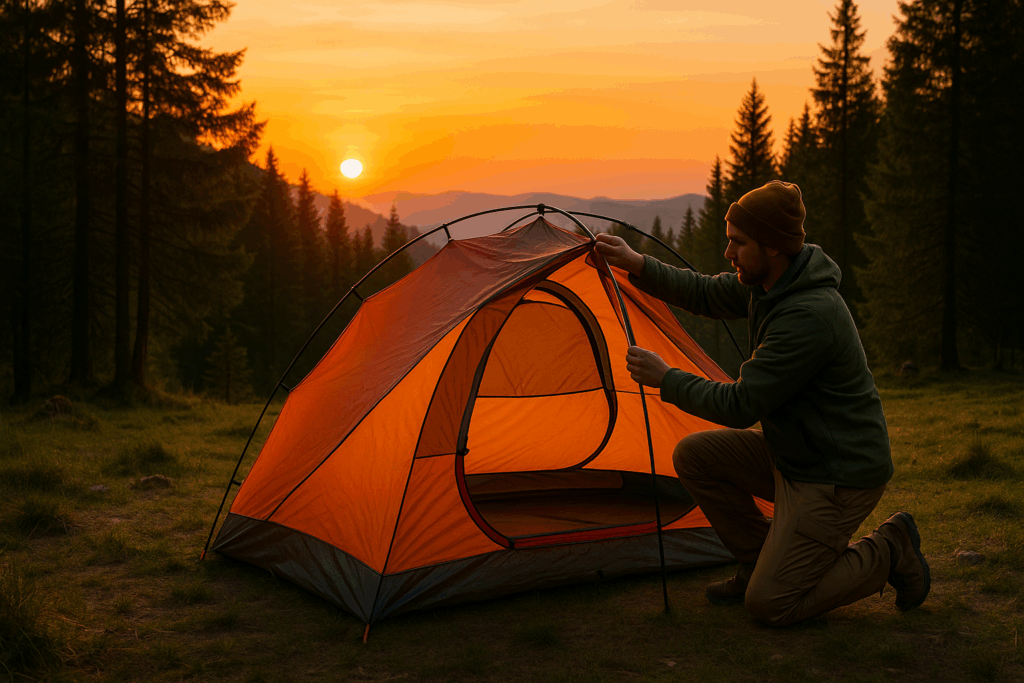
Step 5 – Raise the Tent
Insert the poles into the grommets or sleeves as per instructions. Once the poles are in place, it will start to take shape. Clip the body to the poles using hooks or fasteners provided.
Step 6 – Stake It Down
Once the tent stands upright, stake it down at each corner. Pull each corner tight before inserting the stake at a 45° angle toward the tent for maximum security.
Step 7 – Attach the Rainfly (If Included)
Finally, drape the rainfly over the tent and secure it with hooks, buckles, or Velcro straps. Make sure the fly covers all mesh areas to keep rain out.
Common Setup Mistakes to Avoid
Even experienced campers slip up occasionally. Keep these pitfalls in mind:
- Skipping the tarp – This can lead to a soaked tent floor.
- Pitching on uneven ground – Sleeping on a slope? Not fun.
- Forgetting to check the wind direction – A strong gust can turn your tent into a kite.
- Not securing guy lines – They’re important for stability, especially in wind or rain.
Scientific Insights: What Research Says About Materials and Safety
Camping is all about getting close to nature—but what about the materials we’re sleeping in? Recent studies have raised important questions about the safety and chemical composition of common fabrics.
A research on flame retardant chemicals in tent materials conducted by Duke University and Boston University found that nearly all tested camping tents contained flame retardant additives such as TDCPP and BDE-209. These chemicals are used to meet flammability standards but can transfer from the tent to your skin during handling.
Another study on indoor air pollution in tents found measurable levels of flame retardants inside tents. These could be inhaled during regular use, especially in poorly ventilated spaces.
What This Means for Campers
- Ventilate your frequently, especially in warm weather.
- Limit direct contact with fabrics—use a groundsheet and keep bedding off walls.
- Choose tents from brands that prioritize eco-friendly or chemical-free materials when available.
These studies don’t suggest you need to stop camping—but they do encourage awareness. Choosing safer materials and better ventilation can reduce your exposure and make your outdoor experience healthier and more comfortable.
Final Thoughts and Pro Tips for a Smooth Camping Experience
- Practice at home before your trip.
- Pack a repair kit with duct tape, extra stakes, and cord.
- Keep instructions in your tent bag for quick reference.
- Check the forecast—you’ll pitch differently in rain versus sunshine.
Once you’ve got the hang of it, you’ll find that setting it up becomes second nature. Since it’s your home away from home in the wild, it’s a skill worth learning.
Ready to get outdoors and pitch like a pro? Gather your belongings and head out along the route. Happy camping!
Frequently Asked Questions (FAQs)
Q1: How long does it take to set up a tent?
A: For beginners, expect 15–30 minutes. With experience, you can pitch most tents in under 10 minutes.
Q2: Do I really need a tarp under my tent?
A: Yes! A tarp protects your tent from ground moisture and sharp objects, extending its lifespan.
Q3: Can one person set up a tent alone?
A: Absolutely. Many modern tents are designed for solo setup. Practice once or twice before your trip for confidence.
Q4: What should I do if it’s windy while pitching the tent?
A: Stake down one side first, then work against the wind. Secure the rainfly firmly using man lines.
Q5: Is it okay to leave my tent up for several days?
A: Yes, but inspect it daily. Re-tighten stakes and check for moisture or critters that may have wandered in.