DIY Camp Tables: 5 Custom Add-Ons for Versatility and Storage
We may earn a commission for purchases made using our links. Please see our disclosure to learn more.
You love the outdoors—but not the messy, “where did the spatula go?” version of it. If your campsite feels like a balancing act on coolers and tree stumps, building or upgrading DIY camp tables can change everything. In this guide, we’ll cover field-tested designs, smart add-ons, pro ergonomics, and five solid ready-made options (with a quick comparison) so you can cook, craft, and gather with less chaos and more joy.
Affiliate note: Some product picks below may include affiliate links. It doesn’t change your price.
What Makes a Great DIY Camp Table?
A great table does three things well: it packs small, it sets up fast, and it stays steady. Look for a lightweight camping table that won’t wobble on uneven ground, supports at least 50–80 lb for gear or cooking, and offers tie-downs or feet that grip. Bonus points for height-adjustable legs and a surface that cleans easily after chili night.
LSI keywords to look for as you plan/build: folding camp table, camp kitchen table, portable camp table, compact camp table, outdoor cooking table, overlanding table, roll-top camping table, height-adjustable camping table, camp prep station, camp organization.
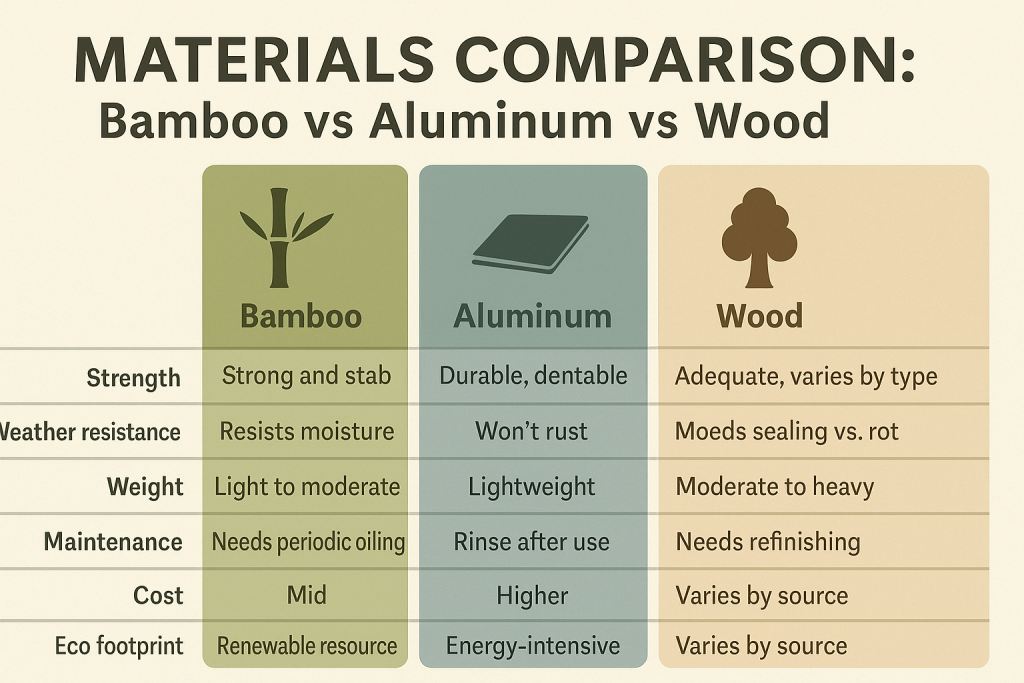
Materials: Wood, Aluminum, or Bamboo?
- Aluminum: Light, weather-resistant, ideal for roll-top or folding frames.
- Bamboo: Warm, sturdy, and surprisingly durable; oil it periodically.
- Plywood/Hardwood: Budget-friendly for DIY; seal edges with polyurethane or spar varnish.
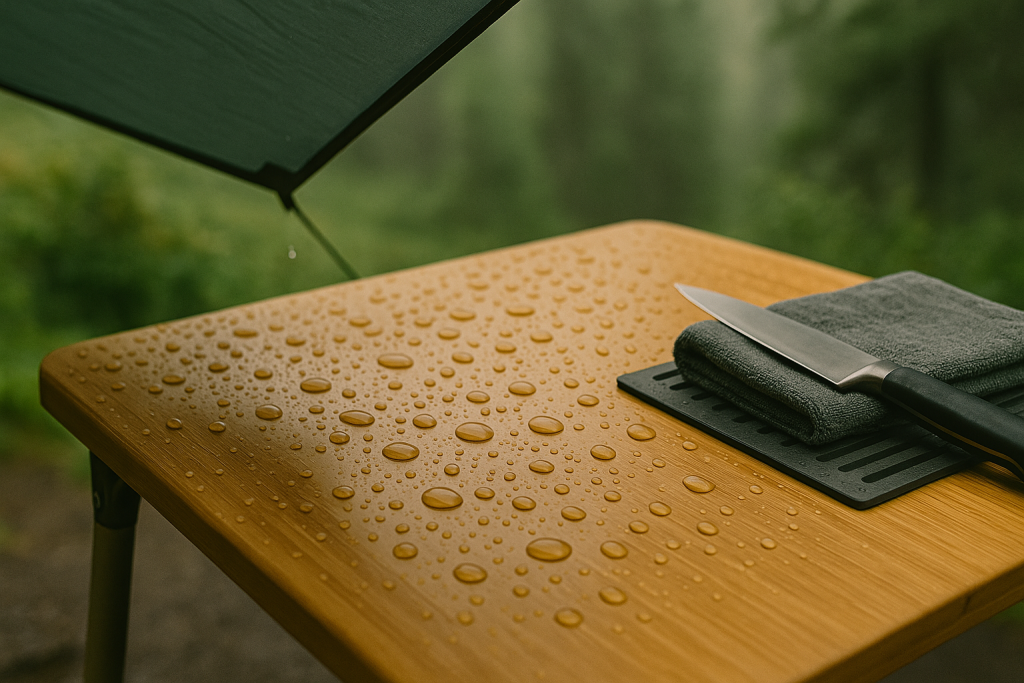
Reality check: If you’ll leave it out in dew or drizzle, metal or sealed bamboo wins. If you like customizing, wood is your friend.
Size & Height: Getting the Fit Right
Your back will thank you for dialing in height. As a rule of thumb, aim near elbow height for light prep and a bit lower for heavier tasks. Ergonomics guidance suggests precision work surfaces about 5 cm above elbow height, light work 5–10 cm below, and heavy work 20–40 cm below—a helpful range when you’re choosing or cutting legs for your camp table.
Tip: If your household has mixed heights, use telescoping legs (or color-coded leg extenders) to switch settings quickly.
Build Plan: Simple Folding Top (Beginner-Friendly)
Why you’ll like it: Fast build, flat-packs, great as a camp prep table or cards table.
You’ll need:
- 18–20 mm plywood top (sealed), 60–80 cm x 100–120 cm
- Four removable or folding legs (commercial folding leg brackets or EMT conduit legs with caps)
- Corner braces, wood screws, polyurethane
Steps
- Cut & Seal: Round the corners; seal top and edges.
- Attach Brackets: Mount folding leg brackets; ensure clearance to fold flat.
- Add Feet: Rubber feet or tennis balls for soft soil.
- Test & Tune: Check racking; add a cross-brace if needed.
Build Plan: Collapsible X-Frame (Packs Ultra-Small)
Why you’ll like it: The roll-top camping table look with real stiffness.
You’ll need:
- Two X-frames (aluminum or hardwood) with a locking pin
- Aluminum slats (or 1×2 hardwood) with webbing as hinges
- Edge dowels, two side rails, carry bag
Steps
- Make X-Frames: Drill pivot points; add locking pin to stop sway.
- Build Roll-Top: Stitch slats to webbing; add dowels on ends.
- Rails On: Rails capture dowels—no sliding.
- Pack Test: Practice the roll-and-wrap until it’s 60-second setup.
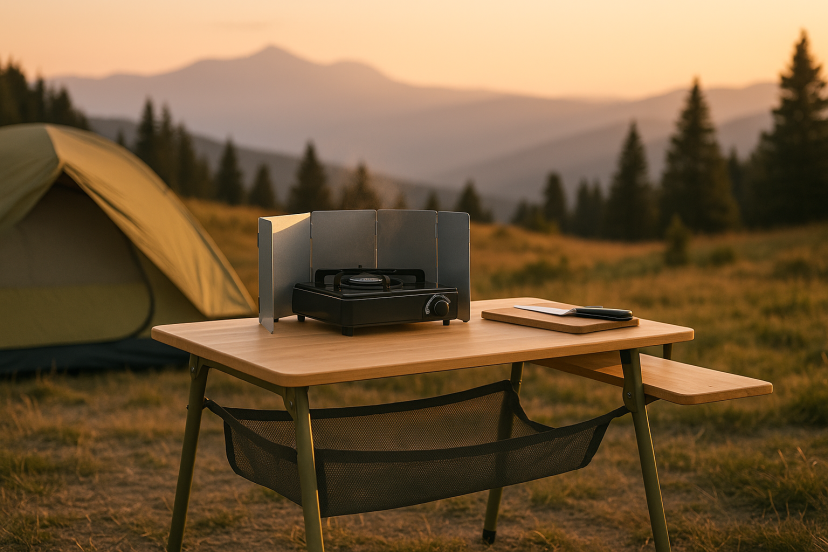
Add-On #1: Clip-On Windshield for Stoves
A three-panel aluminum windscreen protects flame stability and saves fuel. Hinge it to the back edge or clamp it to your portable camp table when you cook.
Pro tip: Pair with a portable griddle for pancakes at sunrise—here’s a good primer on choosing a portable griddle for campsite cooking.
Add-On #2: Under-Table Storage Sling
Sew a mesh “hammock” with binding tape and four grommets. Clip it under the table for dish cloths, spices, or headlamps. The mesh dries fast and keeps clutter out of your workspace.
Add-On #3: Side-Car Cutting Board Wing
Add a narrow hinge-down board on the table’s right or left side. It doubles as a serving shelf or dish-drying rack. Support with a folding bracket or paracord stay.
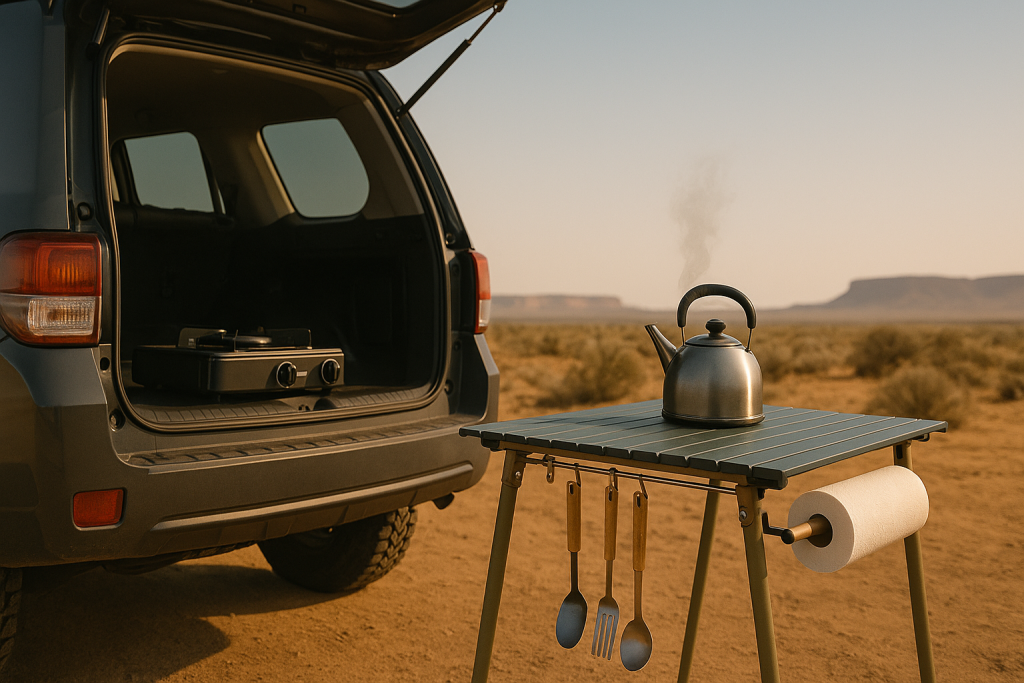
Add-On #4: Rail Mounts for Utensils & Paper Towels
A simple aluminum rail or pegboard strip on the table front keeps tongs, ladles, and towels within reach. Use S-hooks or mini-carabiners so you can rearrange fast.
Add-On #5: Clip-In Trash & Wash Station
Mount a collapsible sink (dry-bag-style) on one bracket and a trash bag ring on the other. Keeping wash and waste off the ground helps with camp organization and Leave No Trace habits.
Smart Organization: Color-Coding & Packing Cubes
Assign colors by task: blue for dish gear, red for stove/fuel, green for food. Stash each color in a cube or soft bin that fits your table shelves or sling. You’ll build muscle memory and cut setup time.
Try this prompt for your crew:
“Where would you look for the lighter?” If everyone answers the same, your system works.
Weatherproofing & Maintenance
- Wood: Two to three coats of marine spar varnish; sand lightly between.
- Bamboo: Food-safe mineral oil or tung oil.
- Aluminum: Rinse after salt-spray; check rivets and hinges.
- Hardware: Loctite blue on vibrational fasteners; spare bolts in your kit.
Safety & Food Hygiene at Camp
Keep cold foods ≤40 °F and hot foods ≥140 °F. That temperature “danger zone” (between 40 °F and 140 °F) accelerates bacterial growth—time limits are 2 hours max, or 1 hour if outdoor temps exceed 90 °F. A stable camp kitchen table with a cooler shelf makes it easier to monitor thermometers and swap ice packs.
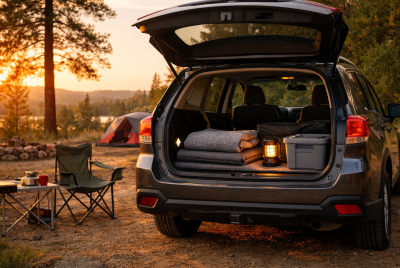
Real-World Setups: Car Camping, Overlanding, Family Basecamp
- Car Camping: One compact camp table plus a second “prep only” surface is a sanity saver.
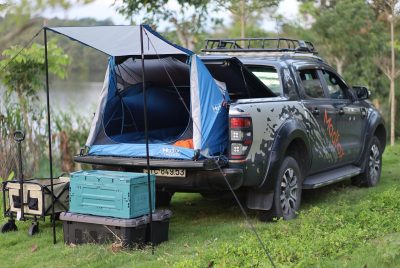
- Overlanding: Go modular—roll-top main table + fold-flat side shelf mounted to your rig.
- Family Basecamp: Prioritize elbow room and bin storage under the table so kids can “shop” for plates and snacks without crowding the cook.
🔹 Amazon Picks: 5 Good Tables if You’re Not Building Today
1) GCI Outdoor Master Cook Station
Why it stands out: A full camp kitchen table with a heat-resistant top, soft-shell sink, multiple side shelves, and a lantern pole. Packs flat with a one-piece fold.
- Features: Heat-resistant main surface, 4 side tables, soft-shell sink, overhead pole.
- Pros: “All-in-one” layout; excellent organization.
- Cons: Heavier than minimalist tables; bigger packed size.
- Best for: Car campers who want a true kitchen station.
- Review snapshot: Fans love the organization and setup flow; a few note weight and storage footprint.
2) Camp Chef Sherpa Camp Table & Organizer
Why it stands out: Roll-top aluminum surface over a four-bag organizer (one bag is lined—use it as a cooler or wash basin). A favorite for tidy cooks.
- Features: 27″ x 17″ roll-top, 4 zippered bags, side pouch, padded carry handles.
- Pros: Storage + work surface in one; fast to deploy.
- Cons: Narrower top; organizer adds bulk in the car.
- Best for: Basecamps that prize order over minimalism.
- Review snapshot: Praised for “bring-the-kitchen” organization; occasional quibbles about width.
3) KingCamp Bamboo Folding Table (Adjustable Height)
Why it stands out: Natural bamboo feel with three-point adjustable height; blends campsite charm with a sturdy work surface.
- Features: 100% bamboo top, aluminum legs, multiple height settings.
- Pros: Stable, attractive, easy to clean.
- Cons: Heavier than ultralight aluminum; needs oiling.
- Best for: Camp cooks who want home-kitchen vibes outdoors.
- Review snapshot: Loved for sturdiness and look; weight shows up in feedback.
4) Coleman 4-in-1 Outdoor Folding Table
Why it stands out: Classic versatility: split into two side tables, join as a square, or run banquet-style. Packs slim with a carry handle.
- Features: Snap-together aluminum frame, multiple configurations, carry bag.
- Pros: Flexible layouts at a friendly price.
- Cons: Not as rigid as single-piece designs.
- Best for: Families and groups who rearrange often.
- Review snapshot: Applauded for value and modular setups; some mention occasional wobble on uneven ground.
5) GCI Outdoor Compact Camp Table (20/25)
Why it stands out: One-piece telescoping design that folds to half size but still holds up to ~60 lb—great as a side table or two-person dine table.
- Features: Squeeze-telescoping legs, lightweight aluminum frame.
- Pros: Very compact; 60-second setup.
- Cons: Smaller surface; best as secondary table.
- Best for: Minimalists and portable camp table fans.
- Review snapshot: Loved for quick setup and portability; size is the tradeoff.
Comparison Table: Quick Glance
| Model | Key Spec(s) | Warranty* | Approx Price/Tier | Best For |
| GCI Outdoor Master Cook Station | Heat-resistant top, sink, 4 side shelves, lantern pole | Manufacturer warranty | Premium | Full camp kitchen |
| Camp Chef Sherpa Table & Organizer | 27″x17″ roll-top, 4 storage bags (one lined), side pouch | Manufacturer warranty | Mid–Premium | Tidy basecamps |
| KingCamp Bamboo Adjustable | Bamboo top, 3 heights, aluminum legs | Manufacturer warranty | Mid | Stylish, stable prep |
| Coleman 4-in-1 | Split/banquet/square layouts, carry bag | Manufacturer warranty | Budget–Mid | Families, flexible layouts |
| GCI Compact Camp Table 20/25 | One-piece folding, ~60 lb capacity | Manufacturer warranty | Budget–Mid | Minimalist setups |
*Check product pages for current warranty details and pricing tiers.
Research-Backed Insights: Comfort & Safety You Can Feel
- Work Height Matters: Ergonomic guidelines note that ideal work surface height shifts by task—precision slightly above elbow height; light prep just below; heavy chopping lower. For camp cooks, that means adjustable legs can reduce back strain and fatigue over a weekend.
- Food Temps Keep You Healthy: Public-health guidance emphasizes keeping foods out of the 40–140 °F danger zone for more than two hours (or one hour in heat). A steady camp prep table helps place coolers, stoves, and thermometers at eye level so you actually follow those rules.
For a fuller kitchen blueprint, outdoor experts recommend a stable prep surface plus organized storage—exactly what a well-designed camp kitchen table or station offers.
Pro Tips & Troubleshooting (Because Campsites Are Never Level)
- Wobble on rocky soil? Slide a flat stone or wood shim under the short leg; add elastic guy-lines from table corners to ground stakes.
- Windy conditions? Use a low profile and orient the windscreen; stash heavier items on the downwind side.
- Sticky cleanup? Keep a small spray bottle with warm water + drop of soap; a melamine sponge erases most gunk.
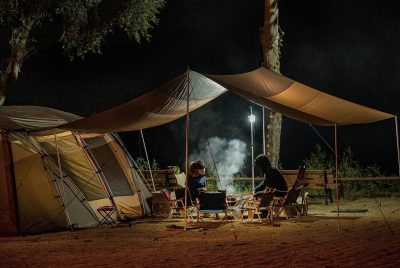
- Night cooking? Clip a headlamp to the lantern pole or table edge for a directional task light without glare.
- Kids’ corner: A tiny folding camp table with spill mats gives kids their own space to craft or snack.
FAQs
What is the ideal height for DIY camp tables?
Aim near elbow height for light prep; go lower for heavy chopping. Adjustable legs let you tune comfort for different users and tasks.
How much weight should a portable camp table support?
For cooking and gear, look for 50–80 lb capacity. Heavier kitchen stations may support more, while compact camp tables are best as side tables.
Are bamboo camping tables durable?
Yes—bamboo is strong and stable; just oil it periodically and avoid long soaks. Many adjustable bamboo camping tables balance looks with serious sturdiness.
Can I safely use a stove on my camp table?
Use a heat-resistant surface or trivet, add a windscreen, and keep a clear zone around flame. Some dedicated cook stations include heat-resistant tops.
How do DIY camp tables improve food safety?
A steady, clean work surface helps you separate raw and ready-to-eat items, keep a thermometer visible, and maintain safe 40 °F/140 °F temperature rules.
Wrap-Up: Build Once, Enjoy for Seasons
With the right plan, DIY camp tables become the heart of your campsite—steady, organized, and welcoming. Choose materials that match your style, set the height for comfort, and add smart extras like a sling, side wing, and wash station. Whether you build a folding top this weekend or grab one of the tables above, you’ll feel the difference at breakfast on day one.
You’ve got this. Start simple, iterate as you camp, and when that first pancake lands on a warm plate, you’ll know you built more than a table—you built a little ritual of ease outdoors.